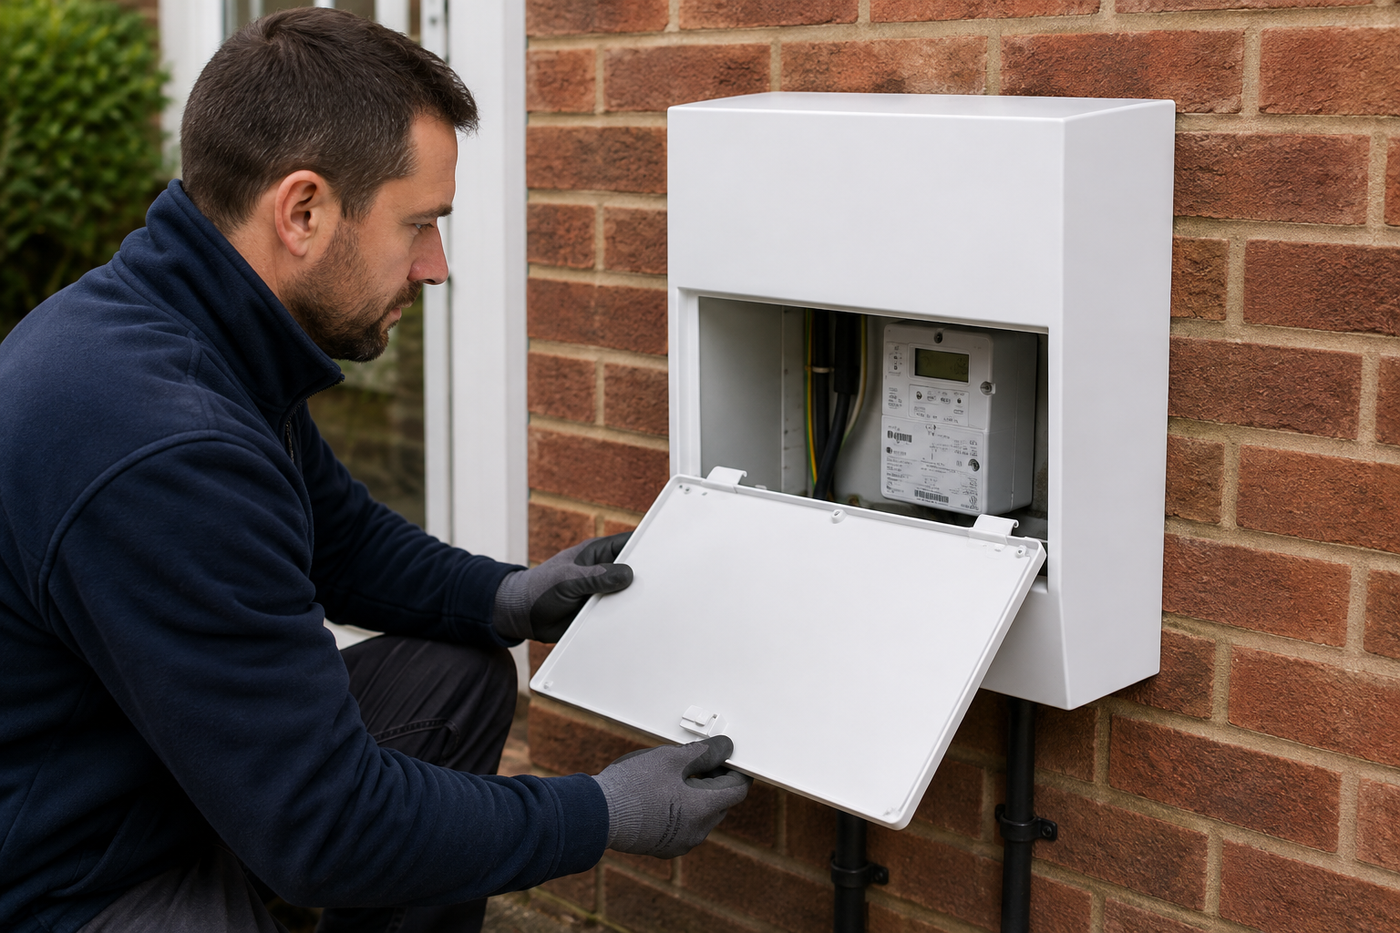
A damaged, cracked or missing meter box door can leave your meter installation looking untidy and exposed to the elements. Fortunately, if you have an MK1 meter box, you may not need to replace the entire meter box.
Using a replacement MK1 meter box door and cover can provide a straightforward way to refurbish the existing installation and restore a neat, secure finish.
In this guide, we'll look at how to replace an MK1 meter box door and cover, using the Mitras™ Meterboxes replacement solution.
Why Replace an MK1 Meter Box Door and Cover?
Meter boxes are generally installed externally, which means they're continually exposed to weather, accidental knocks and everyday wear and tear.
Over time, this can result in problems such as:
- Cracked or damaged meter box doors
- Missing meter box doors
- Broken hinges
- Damaged or deteriorated covers
- Broken locking mechanisms
- Doors that no longer close correctly
- General deterioration of the existing enclosure
If the main meter installation is still in suitable condition, replacing the damaged door and cover can be a much simpler solution than replacing the complete meter box.
How to Replace an MK1 Meter Box Door and Cover
The video below demonstrates the installation method for replacing an MK1 meter box door and cover using a Mitras™ Meterboxes replacement product.
Watch the installation video:
HOW TO | Replace an MK1 Meter Box Door and Cover | Product Installation | Mitras™ Meterboxes
The replacement system is designed to refurbish the external parts of an existing MK1 meter box, helping restore both its appearance and functionality.
Step 1: Inspect the Existing Meter Box
Before beginning the repair, inspect the existing meter box to determine the extent of the damage.
Check the condition of the:
- Existing door
- Meter box cover and frame
- Hinges
- Lock or latch
- Surrounding wall or mounting surface
It's also important to confirm that your existing enclosure is compatible with the MK1 replacement door and cover before installation.
Step 2: Remove the Damaged Door
Carefully remove the existing damaged meter box door.
Depending on its condition, the door may already be partially detached or have damaged hinge points.
Take care during removal to avoid causing unnecessary damage to the remaining meter box or surrounding area.
Step 3: Prepare the Existing Meter Box
With the old door removed, inspect and prepare the existing meter box for the replacement cover.
Remove any loose material or damaged components that could prevent the new cover from sitting correctly.
The surrounding area should be clean and suitable for installation before fitting the replacement components.
Step 4: Position the MK1 Replacement Cover
Position the new MK1 meter box cover over the existing installation as demonstrated in the Mitras™ installation video.
Check that the cover is correctly aligned and sits neatly around the existing meter box.
Before securing the cover, make sure you're satisfied with its position and alignment.
Step 5: Secure the Replacement Cover
Once correctly positioned, secure the replacement cover using the appropriate fixing method.
Take care when drilling or installing fixings around a meter box. Always be aware of cables, pipes and other services that may be concealed behind the surrounding surface.
The meter itself and any associated electrical or gas equipment should not be altered as part of a meter box door or cover replacement.
Step 6: Fit the Replacement Door
With the new cover securely installed, the replacement meter box door can be fitted.
Carefully position the door and connect it to the appropriate hinge points.
Once installed, open and close the door several times to check that it moves freely and sits correctly within the replacement cover.
Step 7: Check the Finished Installation
Finally, inspect the completed installation.
Check that:
- The replacement cover is securely fitted
- The door is correctly attached
- The door opens and closes freely
- The locking or latching mechanism operates correctly
- The door sits neatly within the frame
- The finished installation is correctly aligned
Once these checks are complete, the existing MK1 meter box should have a much cleaner and more secure external finish.
Can You Replace an MK1 Meter Box Door Without Replacing the Whole Box?
If the damage is limited to the external door, cover or associated components, it may be possible to refurbish the existing meter box rather than replacing the entire enclosure.
This can provide a practical solution for older meter boxes where the external components have become cracked, broken or deteriorated but the remaining installation is still serviceable.
Replacing the damaged components can help:
- Restore the appearance of the meter box
- Replace a broken or missing door
- Provide a secure closing mechanism
- Protect the existing meter installation
- Avoid unnecessary replacement of the complete meter box
- Extend the usable life of the existing enclosure
Mitras™ MK1 Meter Box Replacement Products
Mitras™ Meterboxes provides replacement and refurbishment products designed to help repair existing meter box installations.
The MK1 meter box door and cover solution provides a practical option where an existing enclosure has suffered external damage but a complete meter box replacement isn't required.
Before ordering replacement components, always check your existing meter box carefully to ensure you select the correct product and size.
If you're unsure about any part of the installation, particularly where electrical or gas equipment is involved, consult a suitably qualified professional.
Watch the video above to see the Mitras™ MK1 meter box door and cover installation process.


